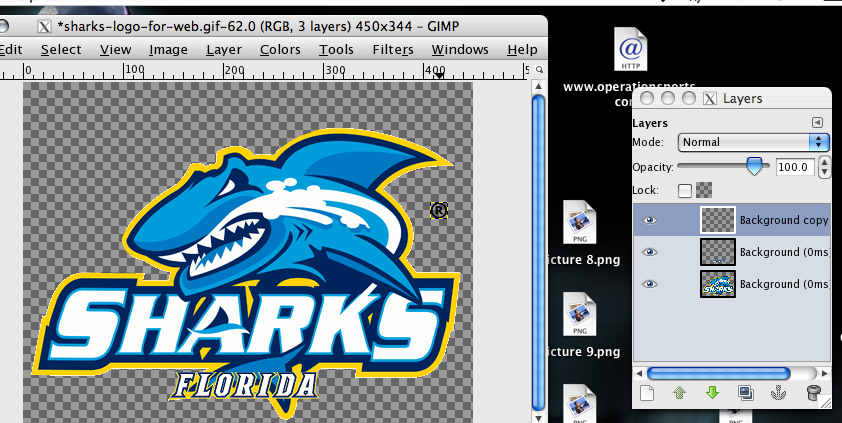
Home

GIMP Walkthrough w/Screenshots

This is a discussion on GIMP Walkthrough w/Screenshots within the EA Sports College Football and NCAA Football forums.

Go Back   Operation Sports Forums > Football > EA Sports College Football and NCAA Football
MLB The Show 24 Review: Another Solid Hit for the Series
New Star GP Review: Old-School Arcade Fun
Where Are Our College Basketball Video Game Rumors?
Reply
 
Thread Tools
Old 04-29-2009, 01:12 AM   #25
MVP
 
OVR: 39
Join Date: May 2008
Posts: 3,912
Re: GIMP Walkthrough w/Screenshots

Layers


K open up the images that you want to combine in Gimp. Make them transparent & make sure they are in the RGB mode just like before.


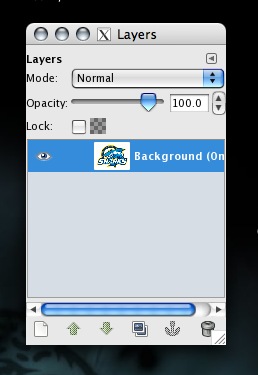
Next take a look at the Layers menu.. If its not up already you can find it by going Windows> Dockable Dialogs> Layers

This is where you will find the different images you are working with on a given canvas.


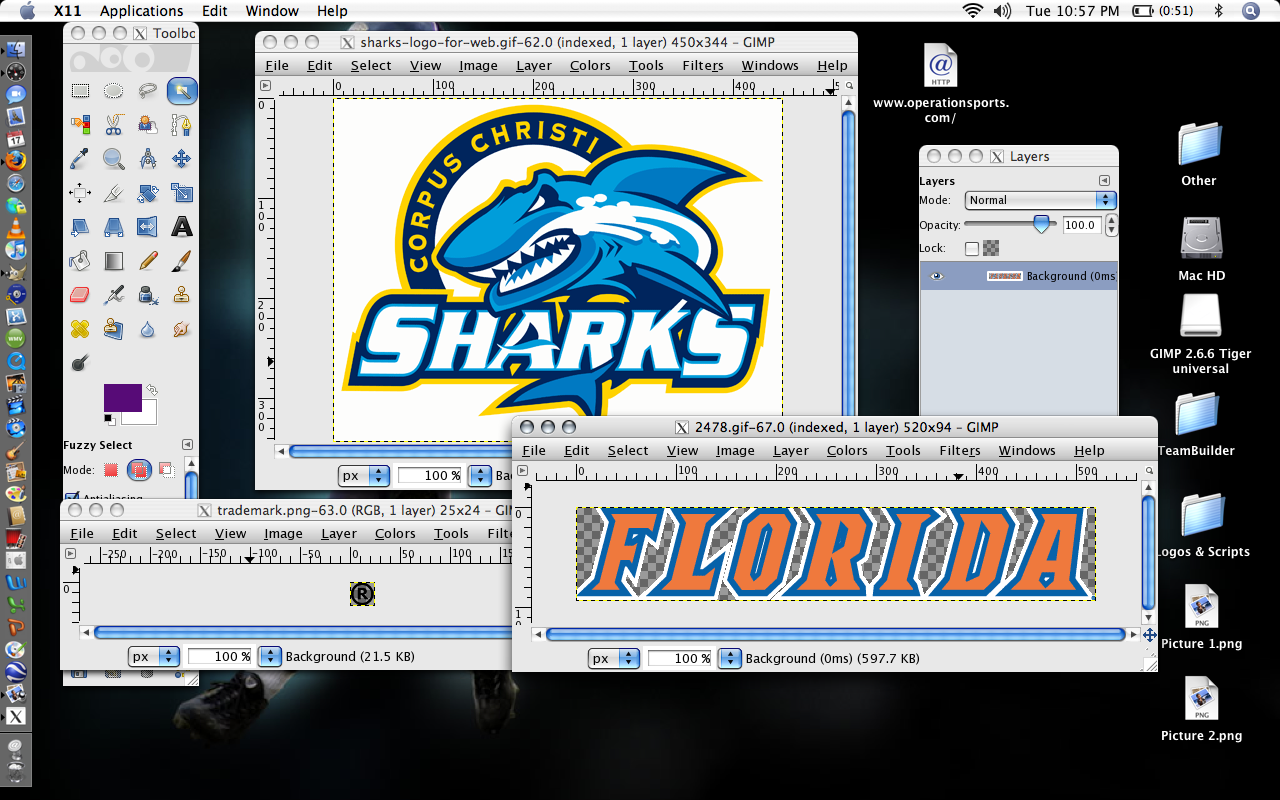
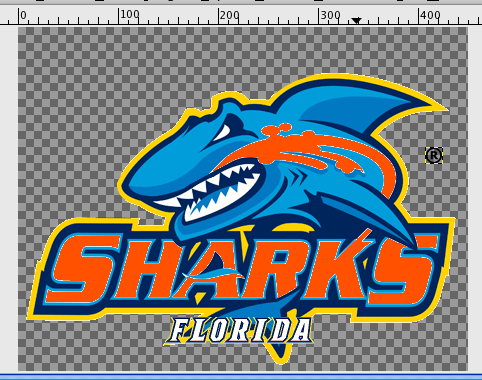
Next I'm going to match the colors and make the "FLORIDA" script the same colors as the sharks logo.. Do this by selecting the Dropper tool, then double click the color on any of the images that you want to set.


Now select the area you want to change with the wand tool and add color like i explained before.. Here I have made the florida script match the sharks logo colors.


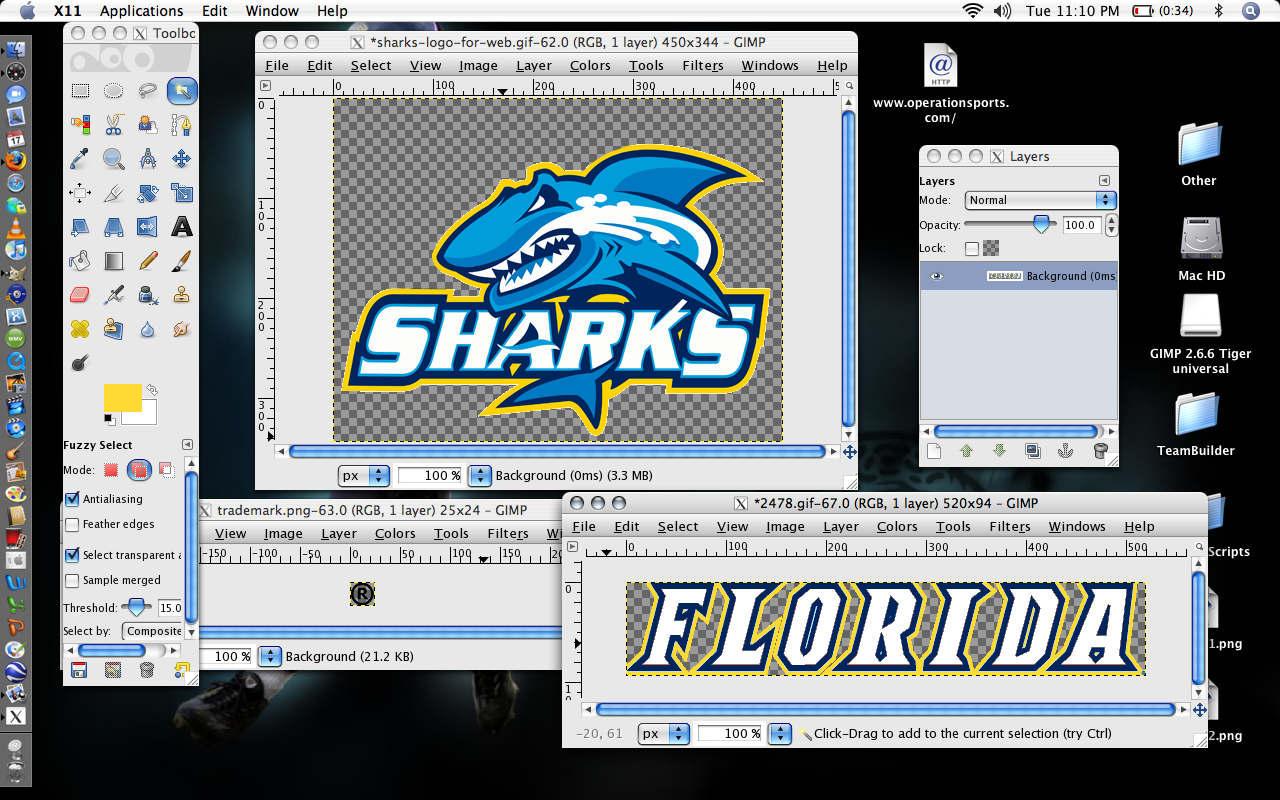
Now lets drop the florida script into the sharks logo canvas. Select the florida script box, go over the the layers menu, click it so it highlights in blue.


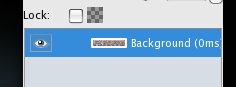
From there, click and hold the "eye" & then drag over to where you want that image, and let go.

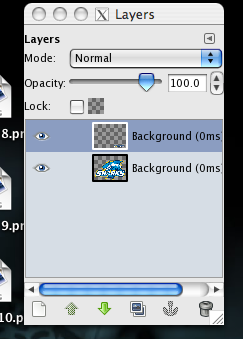
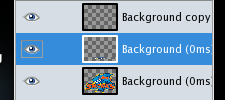
Now look at your layers menu, and it should look like this indicating there are multiple layers on the canvas.


From here you can also decide to move the selected layer up or down... bringing it to the foreground or background, or inbetween layers.

Here's the florida script "on top" of the sharks logo (i resized "florida" btw -----> do the re-sizing BEFORE you drag it over, otherwise it rescales all images on the same canvas)
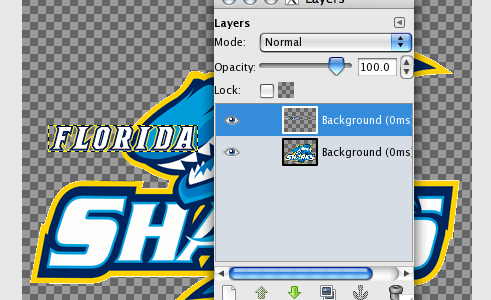


And on the bottom..


To move the image around select its layer on the layer menu, then select the Move tool (2 under the wand). Now click and hold the image to move it around.

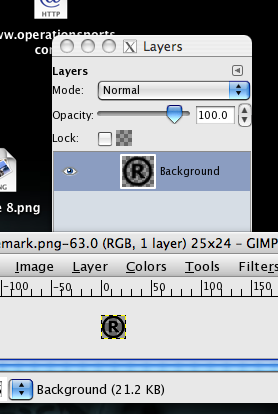
(I also decided to add a copyright/trademark logo to make it a little more legit looking)


As you can see, all 3 images we started with are now on the one canvas. (to bring the image back on the indivual images canvas, click its layer, then click where the eye is so it appears again)


I also decided to add some orange to change it up a bit.. Also scaled the image down to meet the requirements.


Now save the the image as a .png just like before.

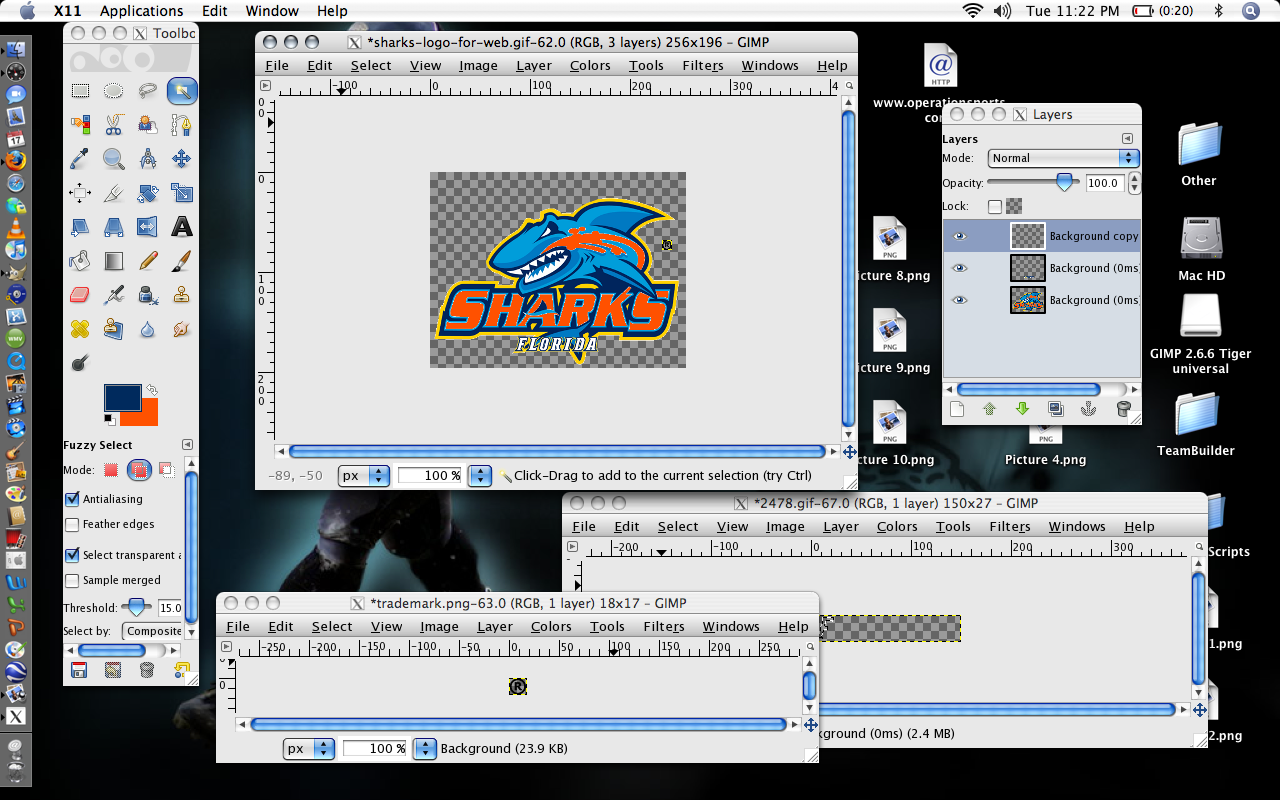
Next, this screen may or may not come up depending on what version you have. (I guess I don't have a certain plug in)


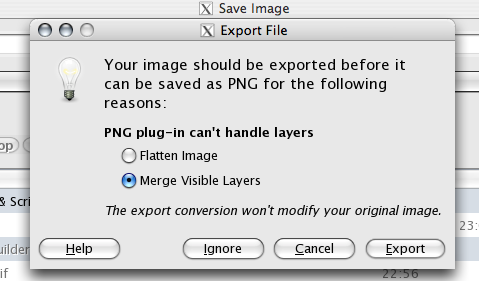
Click select Merge Visible Layers (this preserves the transparency) and the click EXPORT... and then save. Your file is now in your designated folder.


And finally here is the finished product:


FLORIDA SHARKS!!


so there you have it... layers.
sportzbro is offline  
Reply With Quote
Advertisements - Register to remove
Old 04-29-2009, 01:52 PM   #26
MVP
 
OVR: 39
Join Date: May 2008
Posts: 3,912
Re: GIMP Walkthrough w/Screenshots

bump so people can find it
sportzbro is offline  
Reply With Quote
Old 04-29-2009, 04:42 PM   #27
MVP
 
OVR: 9
Join Date: Jan 2003
Re: GIMP Walkthrough w/Screenshots

Great thread. This will be a major help for those who are new to image editing. Photoshop does a lot of things similarly as well.

IF you want to do real graphic work in both PS and GIMP, you should learn the programs and take time. THere are a lot of great YouTube tutorials these days that make learning PS and photo editing a lot easier than it was with the old Adobe books back in the day
Rebel10 is offline  
Reply With Quote
Old 04-29-2009, 04:56 PM   #28
Ty
Just A Kid
 
Ty's Arena
 
OVR: 18
Join Date: Jul 2008
Location: Galena, KS
Posts: 297
Blog Entries: 2
Re: GIMP Walkthrough w/Screenshots

Maybe a sticky for this thread? Some pretty useful info here.
__________________
Kansas Jayhawks
Tampa Bay Buccaneers

Kansas City Royals

Xbox Live: Ty Dyes

Ty is offline  
Reply With Quote
Old 04-29-2009, 06:32 PM   #29
Banned
 
TooSmart's Arena
 
OVR: 5
Join Date: Apr 2009
Blog Entries: 1
Re: GIMP Walkthrough w/Screenshots

i can't seperate the logo from the background. i just want the logo by itself and i can't do it its so fn frustrating
TooSmart is offline  
Reply With Quote
Old 04-29-2009, 10:26 PM   #30
Next Miami Great
 
iAM-IncReDiBLe-'s Arena
 
OVR: 34
Join Date: Dec 2008
Location: Palm Bay, FL
Posts: 4,293
Re: GIMP Walkthrough w/Screenshots

Quote:
Originally Posted by PENAPENA
Gimp tries to autosize mine, when I put 256 as one option it automatically changes the other option away from 256.

Same with the 128x128

any help?

Press the chain link looking thing next to the numbers where you input them. Then change the size.
iAM-IncReDiBLe- is offline  
Reply With Quote
Old 04-30-2009, 12:04 AM   #31
MVP
 
OVR: 39
Join Date: May 2008
Posts: 3,912
Re: GIMP Walkthrough w/Screenshots

Quote:
Originally Posted by kng23rich
Press the chain link looking thing next to the numbers where you input them. Then change the size.
by rescaling that way it sometimes distorts the image
sportzbro is offline  
Reply With Quote
Advertisements - Register to remove
Old 04-30-2009, 02:05 PM   #32
Banned
 
TooSmart's Arena
 
OVR: 5
Join Date: Apr 2009
Blog Entries: 1
Re: GIMP Walkthrough w/Screenshots

why is it have to be in 256???
TooSmart is offline  
Reply With Quote
Reply


« Previous Thread | Next Thread »

« Operation Sports Forums > Football > EA Sports College Football and NCAA Football »


Posting Rules
You may not post new threads
You may not post replies
You may not post attachments
You may not edit your posts

BB code is On
Smilies are On
[IMG] code is On
HTML code is On
Trackbacks are Off
Pingbacks are Off
Refbacks are Off


All times are GMT -4. The time now is 12:28 AM.
Top -