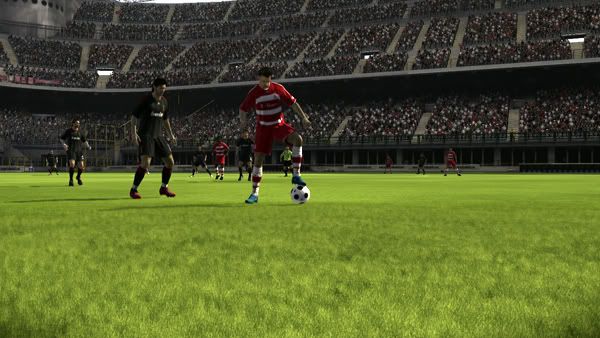
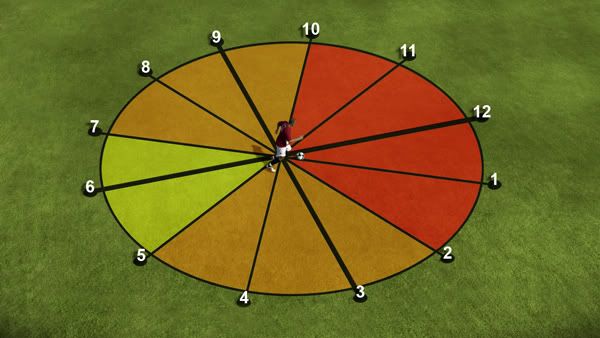
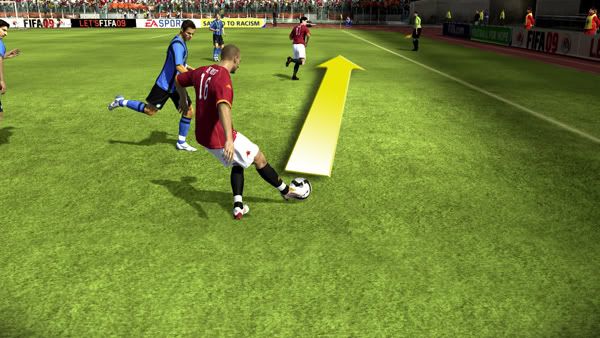
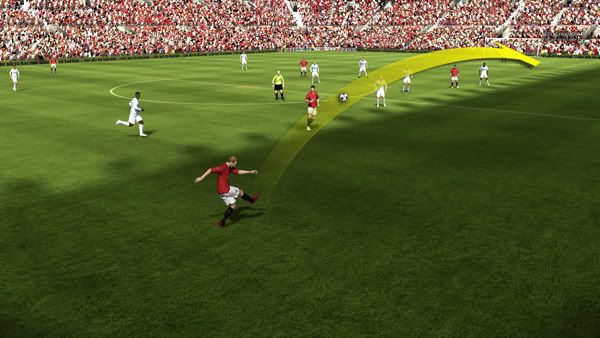
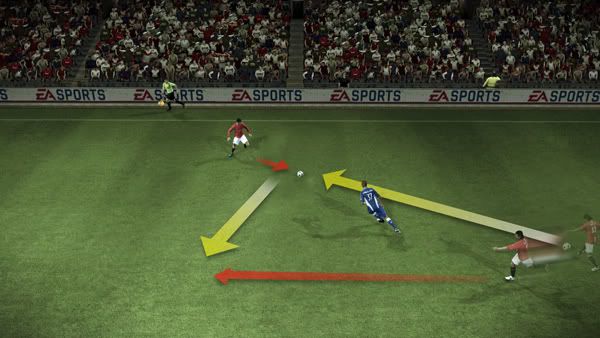
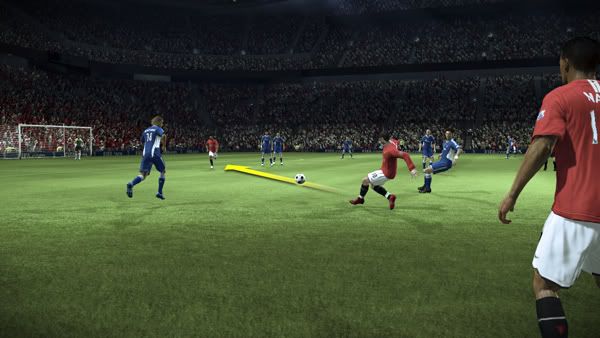
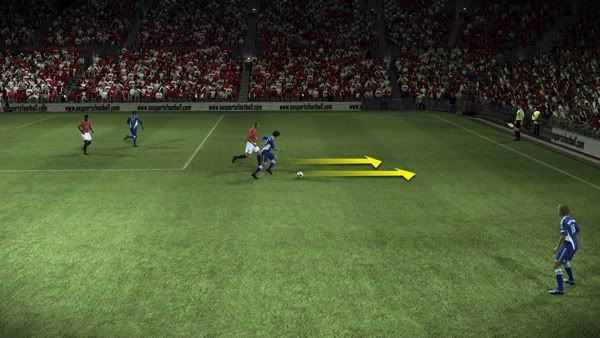
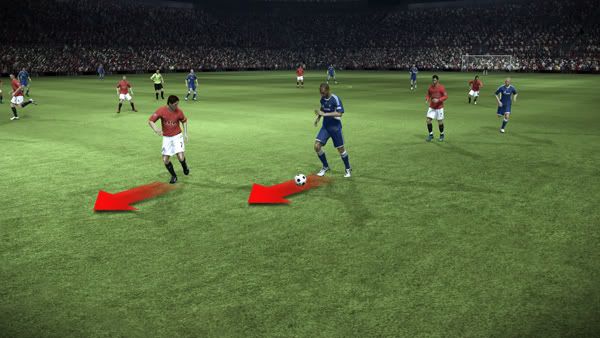
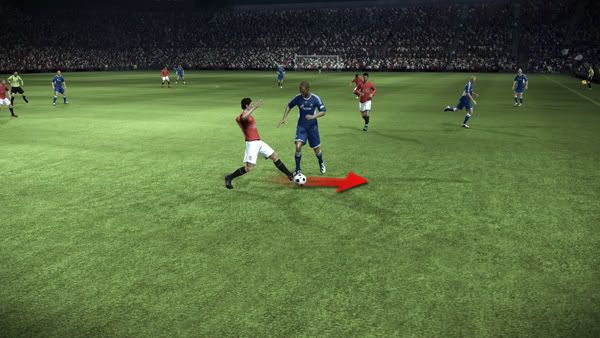
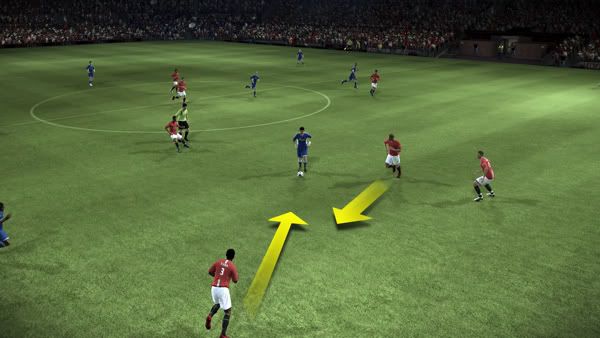
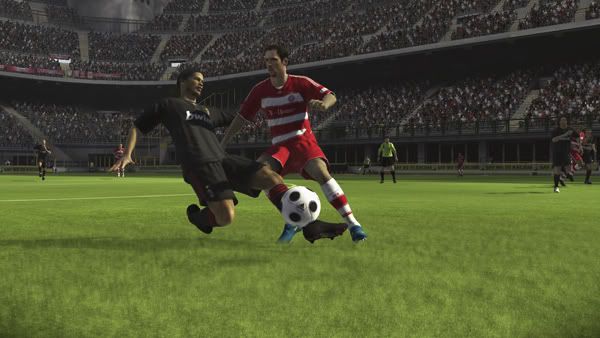
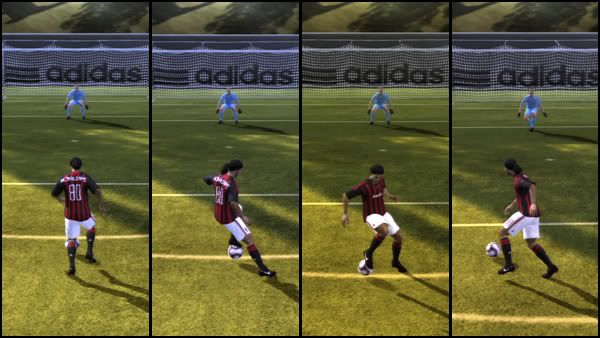
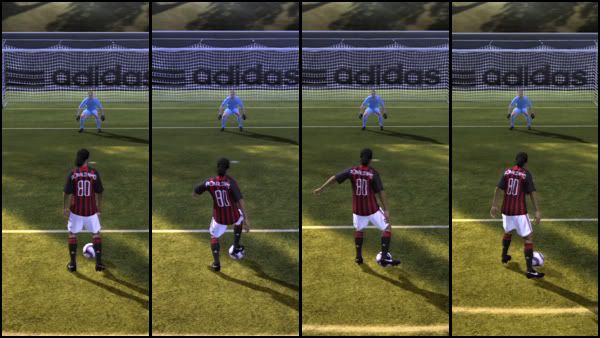
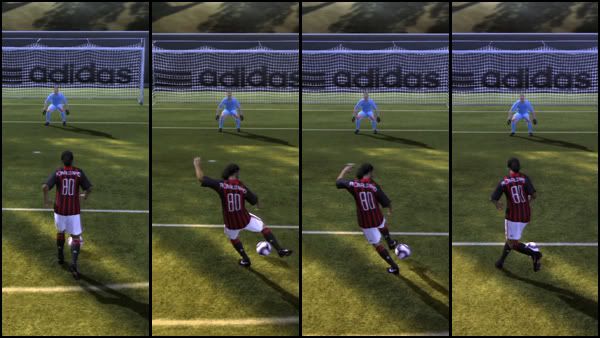
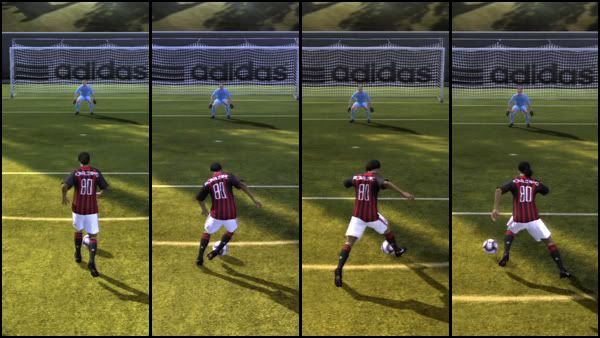
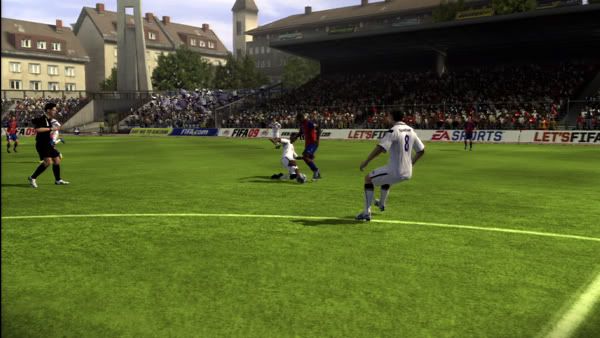
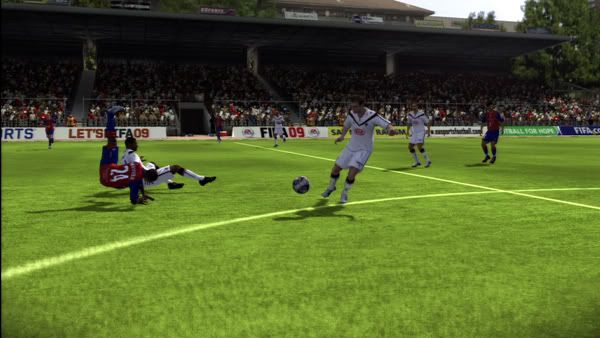
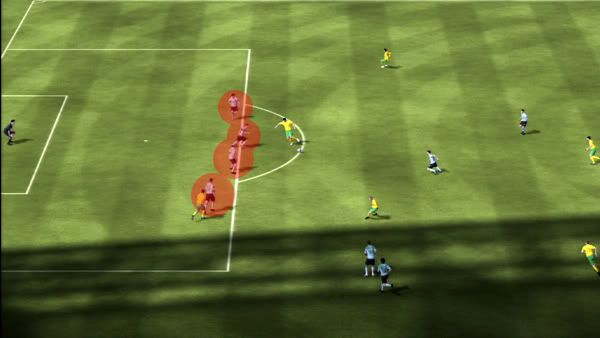
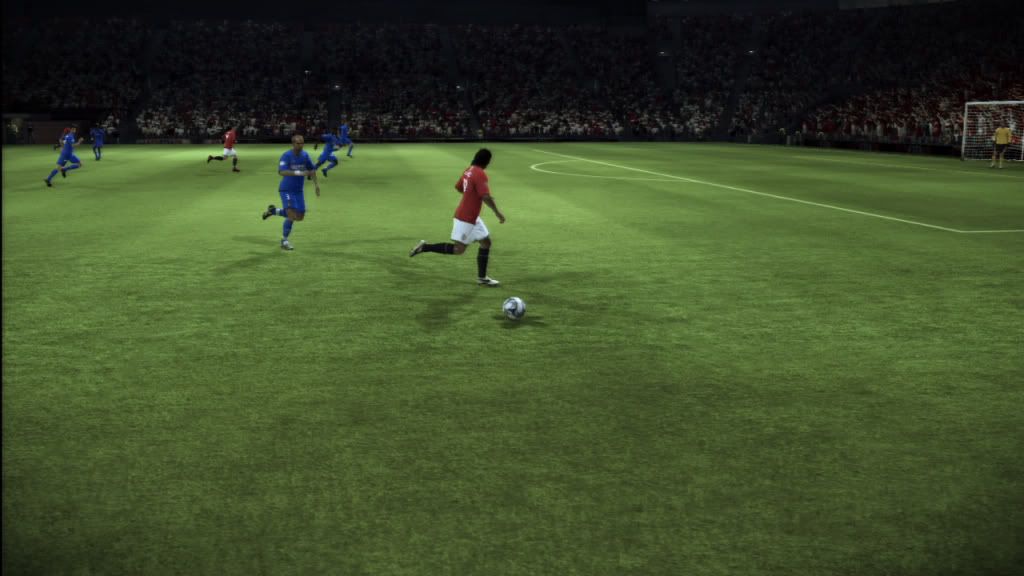
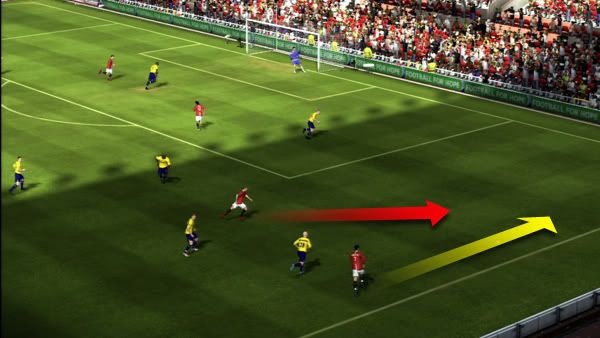
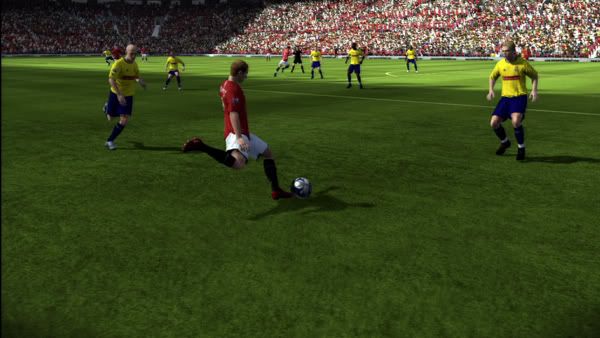
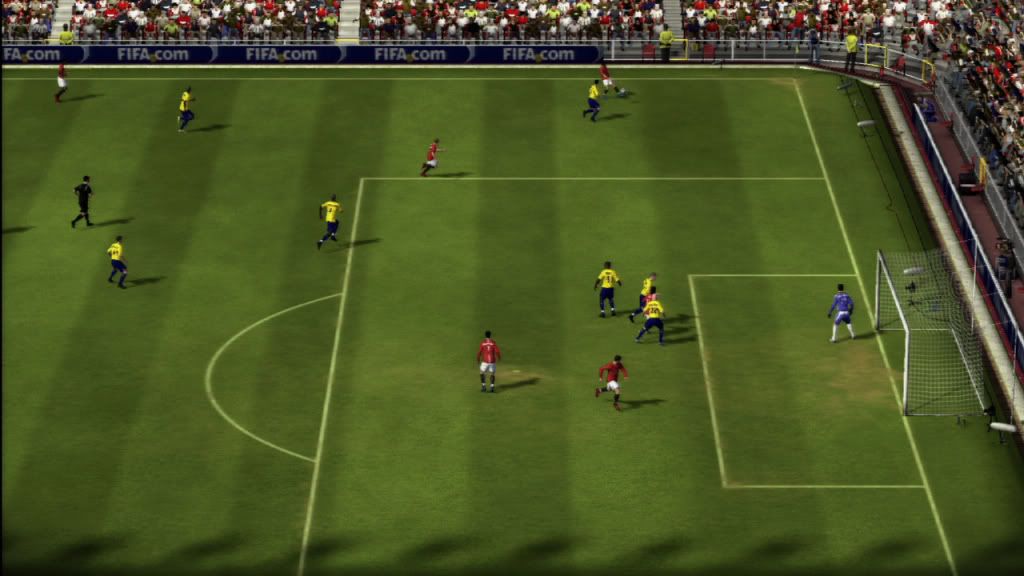
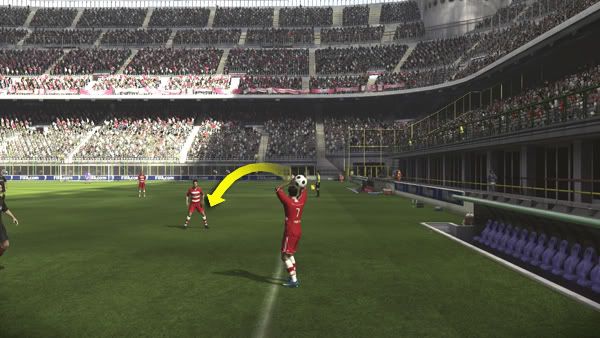
Okay guys,I just received the first ever players guide for Fifa09 from EA. Thanks to StephensonMC! I'm going to be posting it, along with Exboxur and therizing the other two sides of the Fifa Community Leader triangle. This thread will be for both EA's stuff and gameplay insights/tips from both the Community Leaders and you, the Community. So stay tuned... I'm gonna have part of this up ASAP. There's a lot here, so please be patient.. Thanks, Brian
*NEW* I've added a .zip of the edited .doc file with pictures and everything in place. Will add more files as I'm done editing them. Download them in order and you have the full guide, in order. Or you can just download the ones you want. There are a whole bunch of different files, so please be patient as I get them done. Brian
*Update* All of the guide is now up as downloadable .zip files! I'm done with this. Yay!

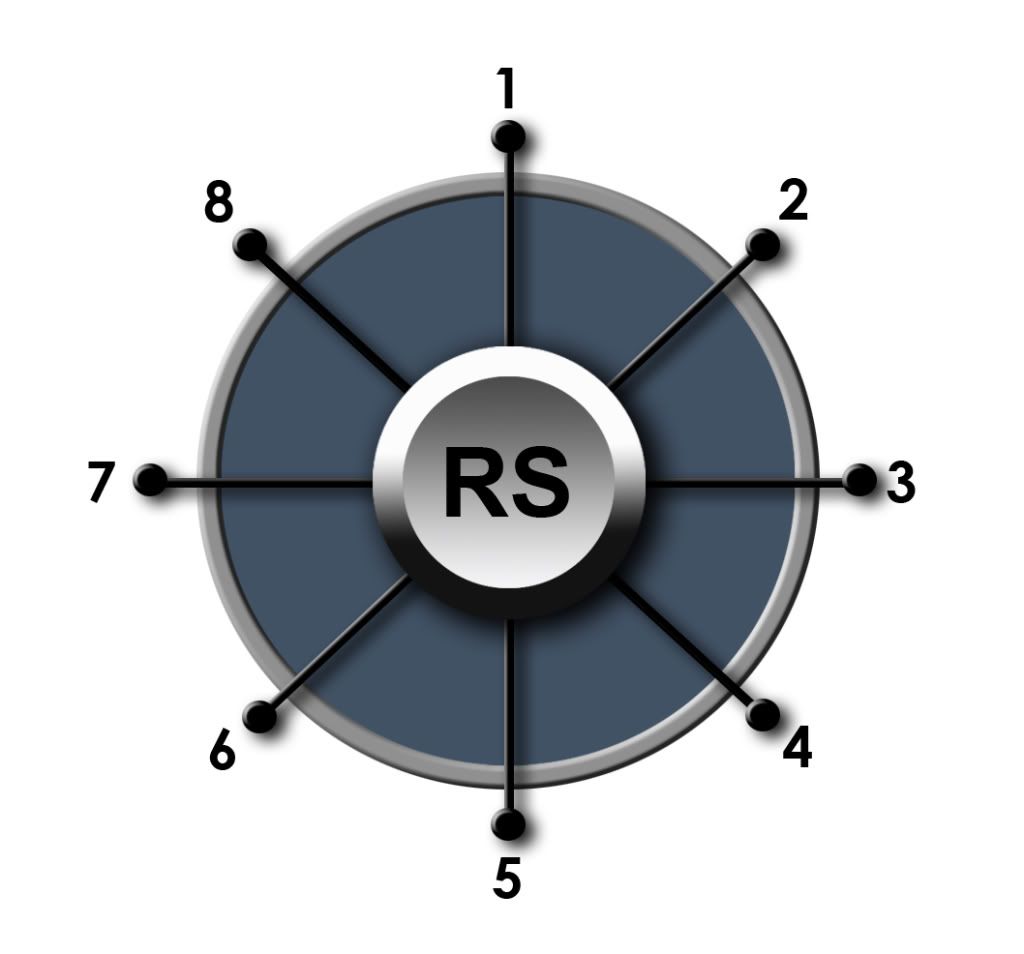


 <O></O>
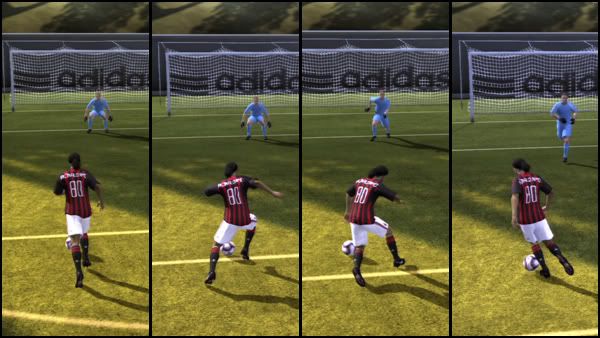
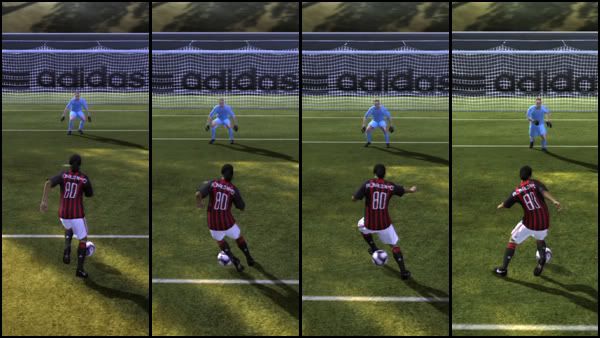
 <O></O>
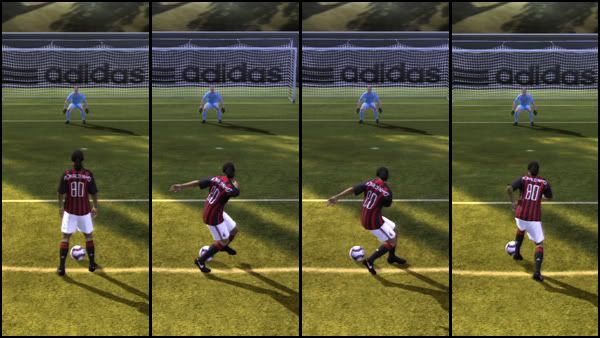
 <O></O>
 <O></O>
 <O></O>


Comment