GIMP Walkthrough w/Screenshots
Ok so it seems more people are downloading Gimp, but are having trouble using it.. It has taken me the weekend to get the hang of it and its pretty easy to use now. I'm basically making this thread so everybody has a place to go to ask questions and get help. BTW I am using a Mac with Tiger operating system..it shouldn't be too different from the PC version.
First we are going to look at how to import the image into Gimp. Open the program and the Gimp interface will pop up.  Click File>Open 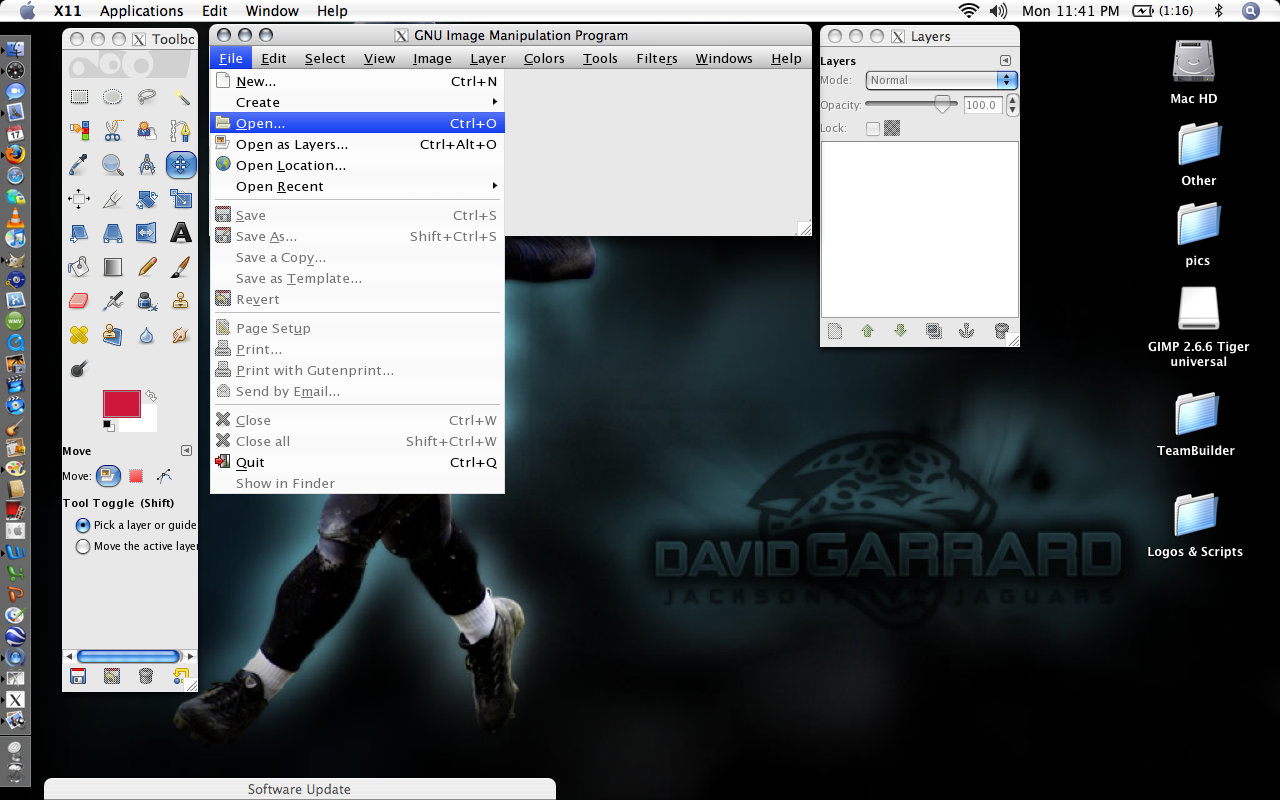 Next select the .jpg /.gif / .png file from your comp you want to upload. 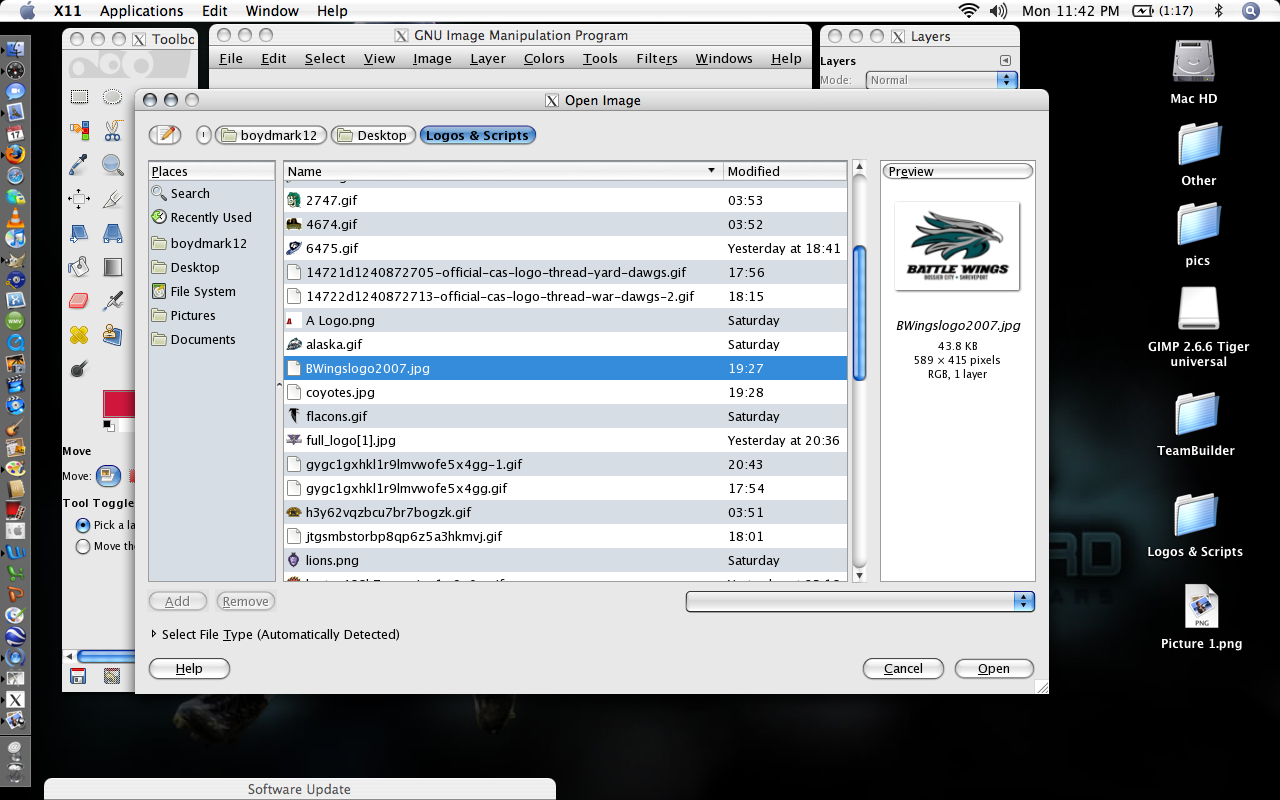 Once you click, it will import the pic into Gimp. Depending on how the file is formatted, it may ask if you want to convert to "RGB". Hit yes because this will allow you to properly alter the colors of the logo.  If it doesn't ask you to convert to "RGB" it may already be in that format, and if not you need to switch it over. Click Image>Mode>RGB  Next you will want to make the image transparent. Click Layer>Transparency>Add Alpha Channel  Now you can begin to cut out the background without having a white area around your logo. Click the Wand Tool icon, then click the area you wish to alter. It will then have a pulsing dashed line around that area. 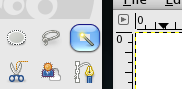  Now that the area is highlighted, cut it out by holding "CTRL"+"X". Thats the shortcut, but you can also go Edit>Cut. Sometimes the areas inside letters and logos will remain the background color. Delete them in the same manner you deleted the background.  Next we'll delete that city name you dislike. You can either highlight each individiual character or take them all out by dragging a box over the area. I'm using the box drag method. Click the Rectangle Tool.  Next click your picture and drag the box over the area to selcect it like I did here. 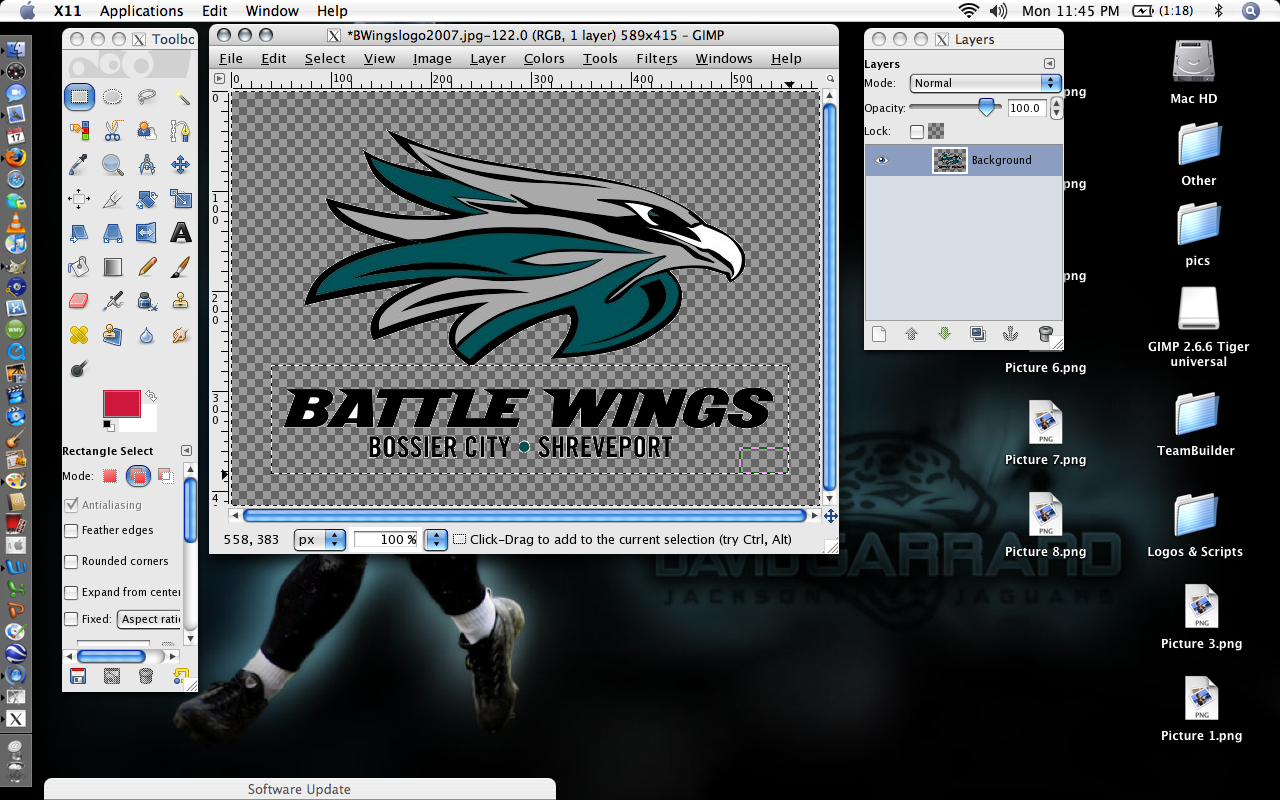 To delete the area selected use the "CTRL"+"X" method or the long way.. 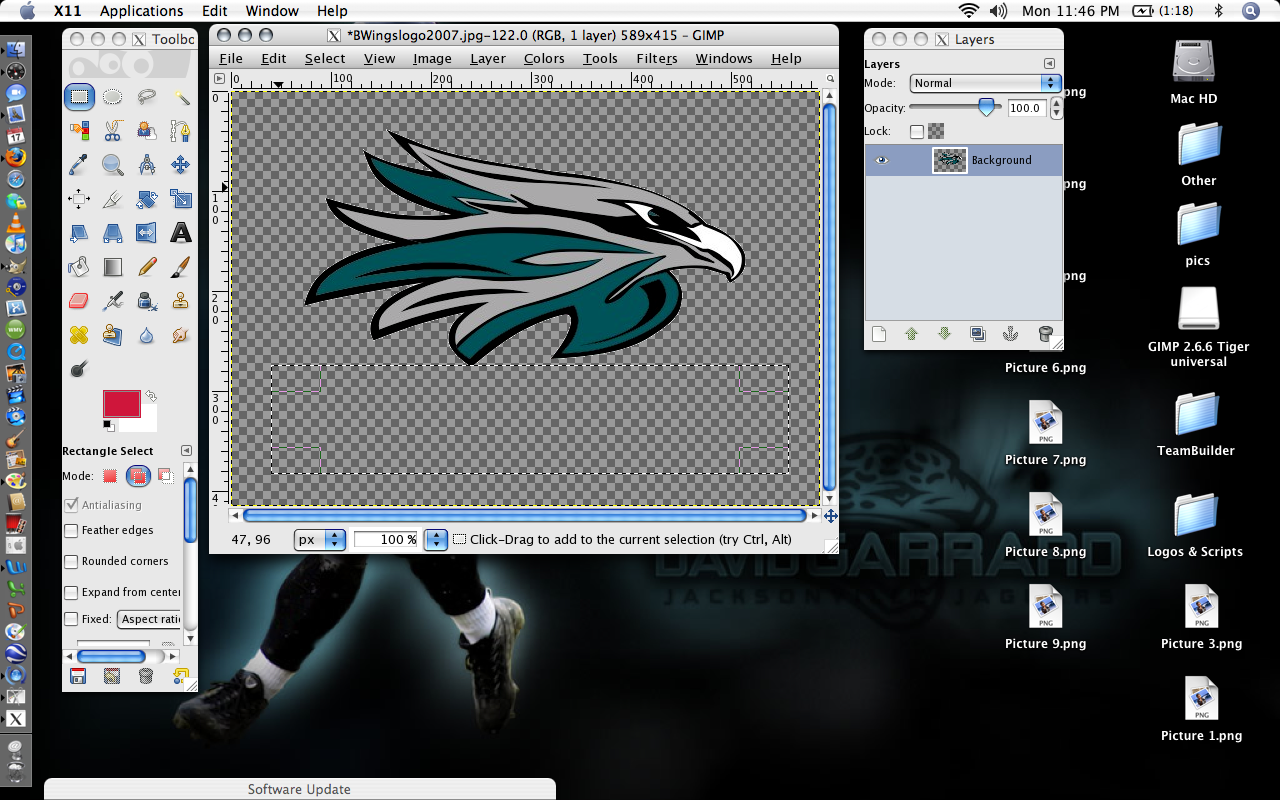 Now to change the colors. Click the Wand tool again, and then click the area you want to change. The area will be outlined with the dashed lines again. (I'm still tinkering with this section..sometimes it looks really good, other times a little more rough--->picture quality helps) 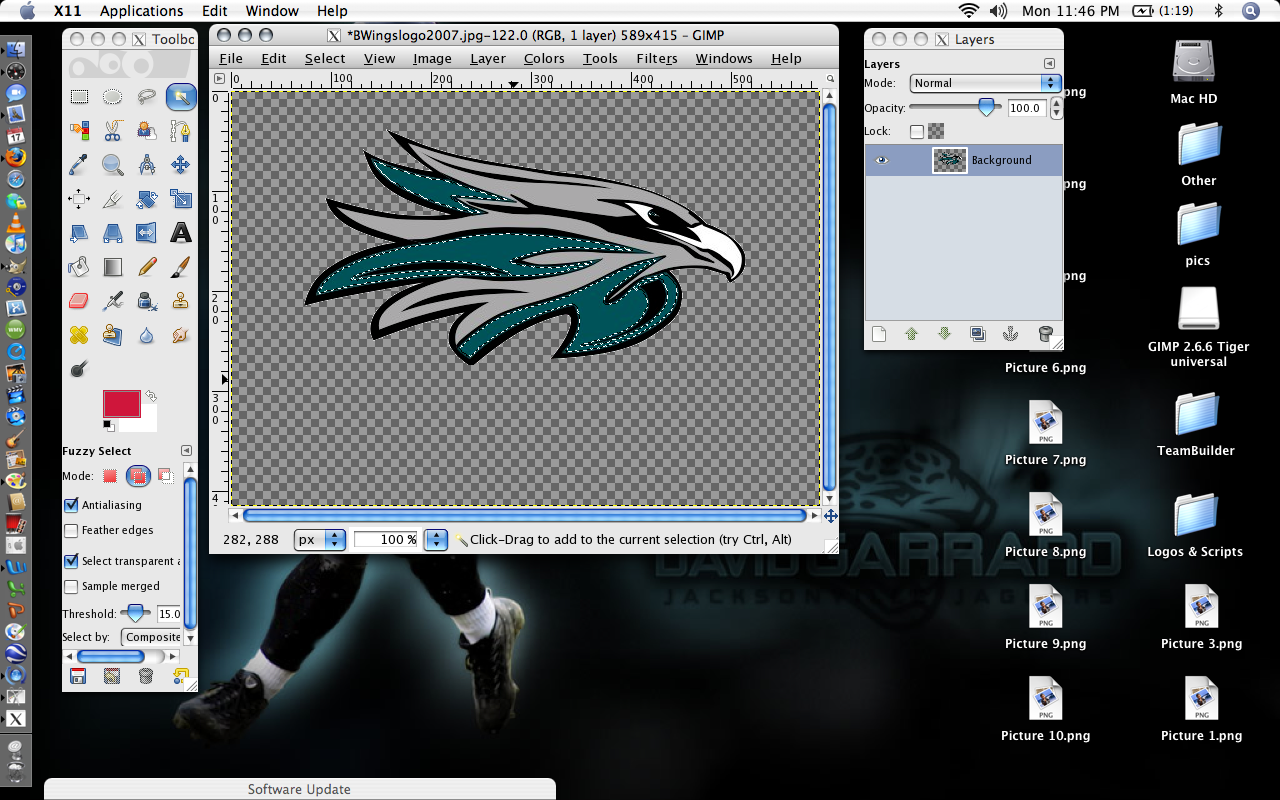 Now to select your color. Double click the two boxes to the left under the tools (they are red & white in the screen). From there you can adjust your colors. You can change both boxes of colors, but I'll discuss that later. So lets make this orange..  Your selected area will remain highlighted throughout this so don't worry.. (You can select multiple areas at once by holding "SHIFT" while clicking the areas) There are a few ways to fill in the color. -EDIT>Fill With FG Color (or BG color) -Select Bucket tool>click selected areas -Hold "CTRL"+ "," (control + comma for FG color, control + period for BG color)  You can select any closed parts and change the color..I changed the gray to red. 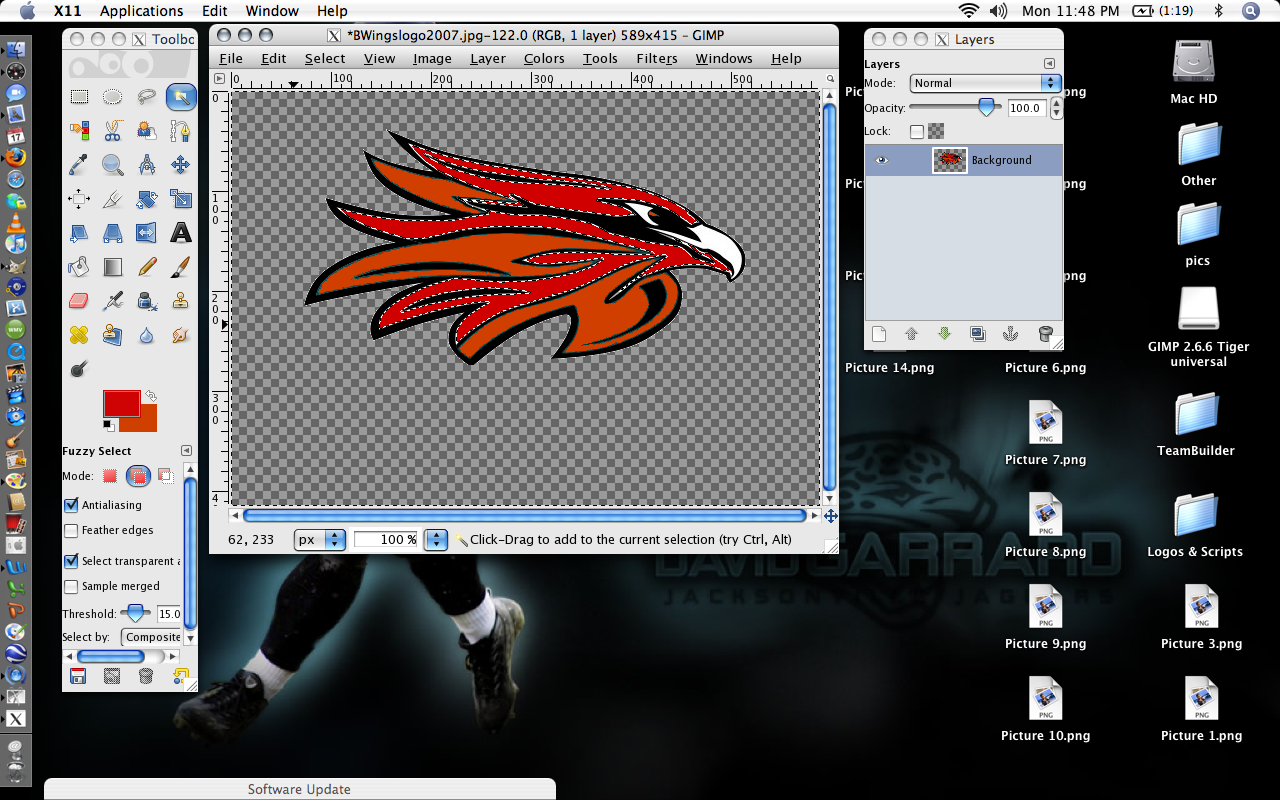 As I said before, sometimes the colors dont fill completely and you have some remaining patches of the other. Im still trying to figure out the best way to fix this, but I have just been zooming in all the way, and selecting the individual pixels then chaning the colors. (there has to be a better way though) 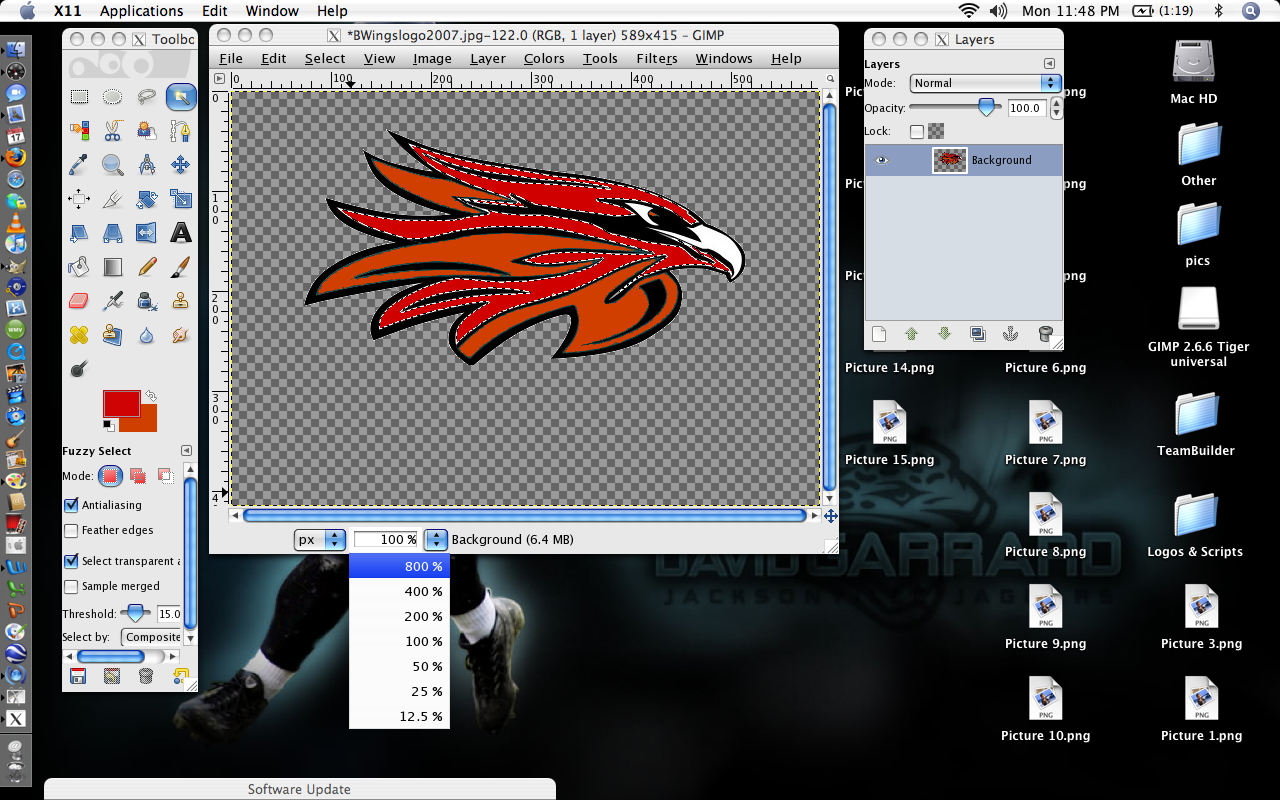 I zoomed in to show you what I mean.  Now after you fix that (if you have to..sometimes it looks perfect) you will need to re-size the image to the 256 x 256 and/or 128 x 128 pixels size. Click Image>Scale Image Then plug in your numbers.. 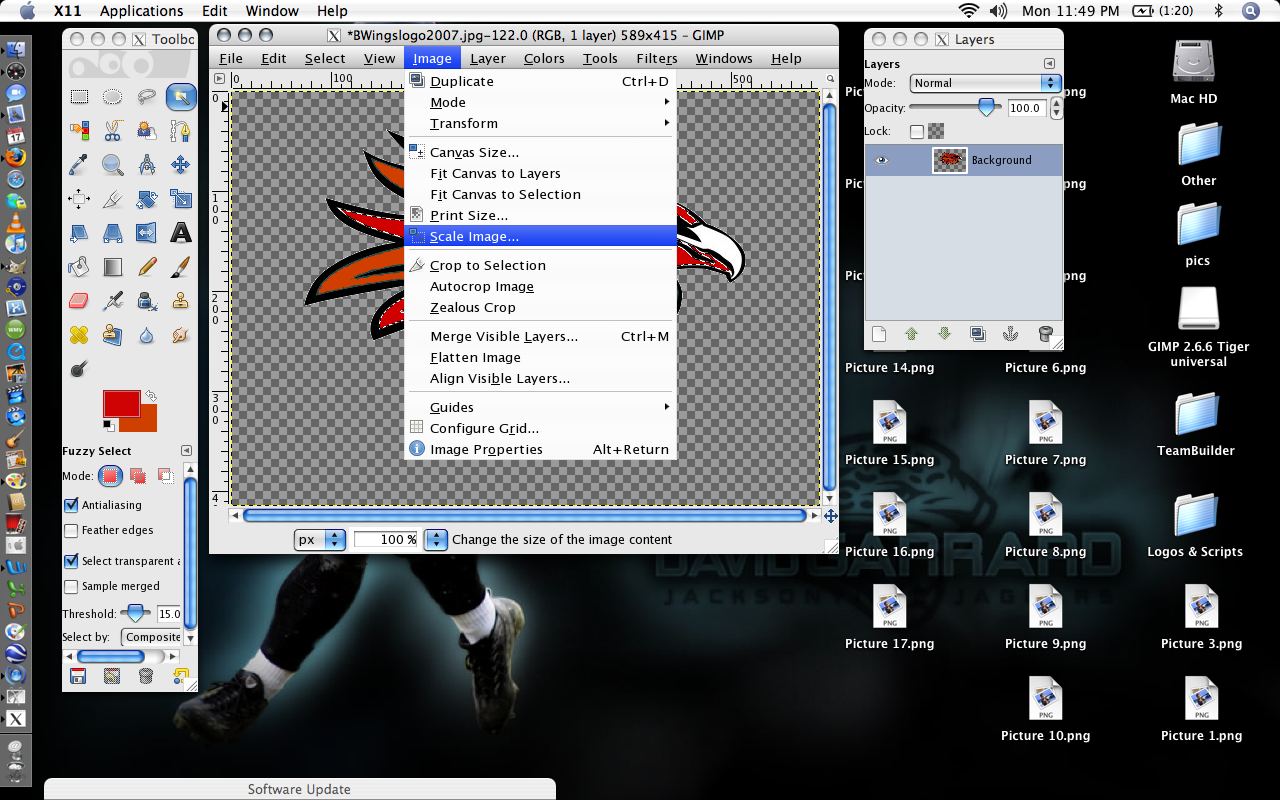 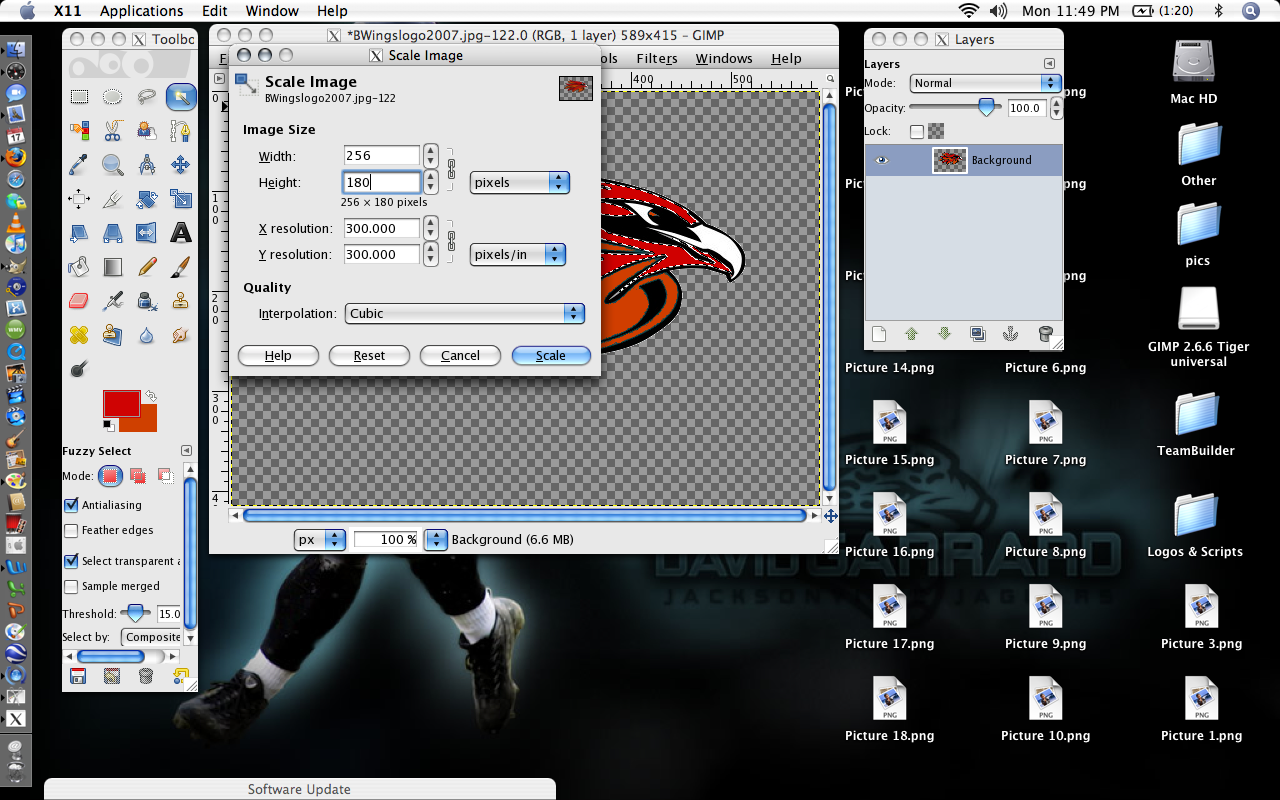 Now the image is sized correctly. 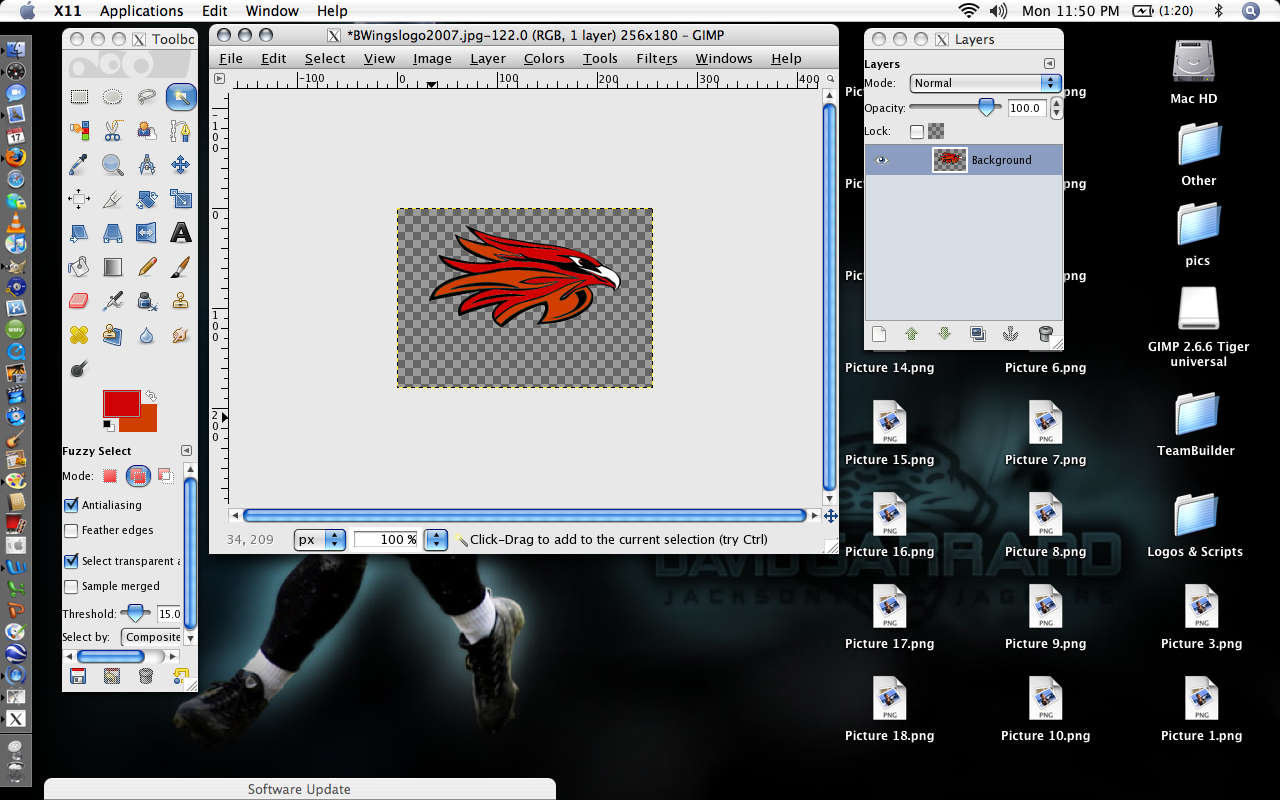 Next save the file as a .png file. Click File>Save As 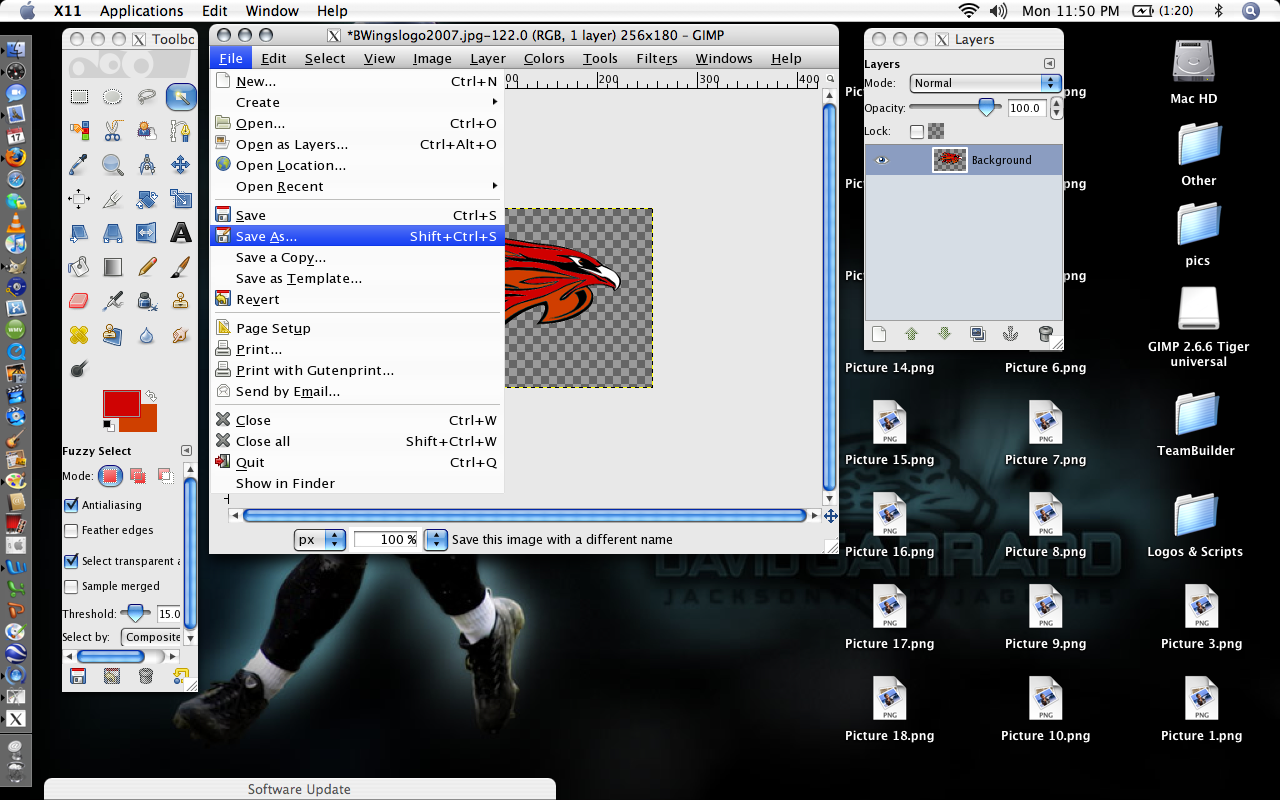 Here you can select the location & name the file 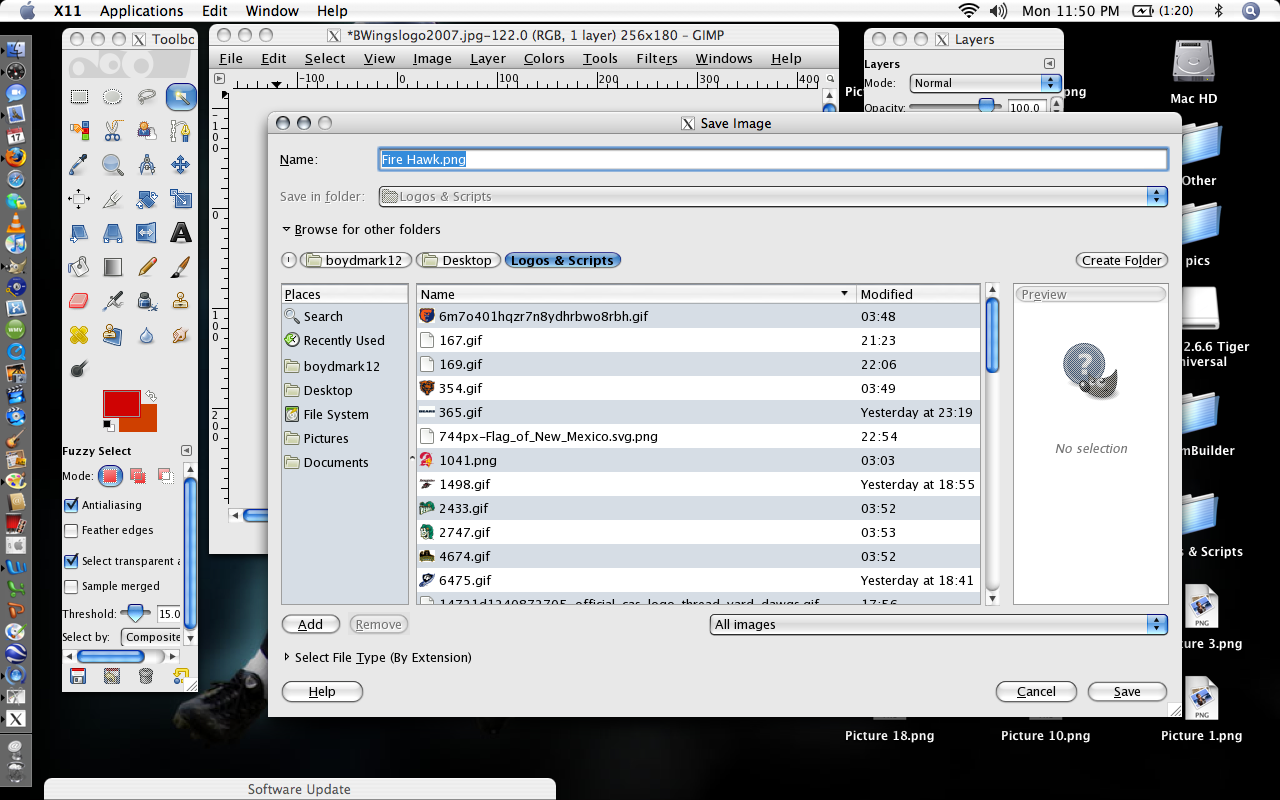 Next, a screen asking if you either want to "merge layers" (pretty sure thats what it says) or "flatten image". I click the "merge layers" option, then "export" After you get through that pop-up screen this one appears (Just click save)  Now lets open up the .png file we just saved. Go to the location you saved it to and click it. (I made a seperate folder for my finished logos)  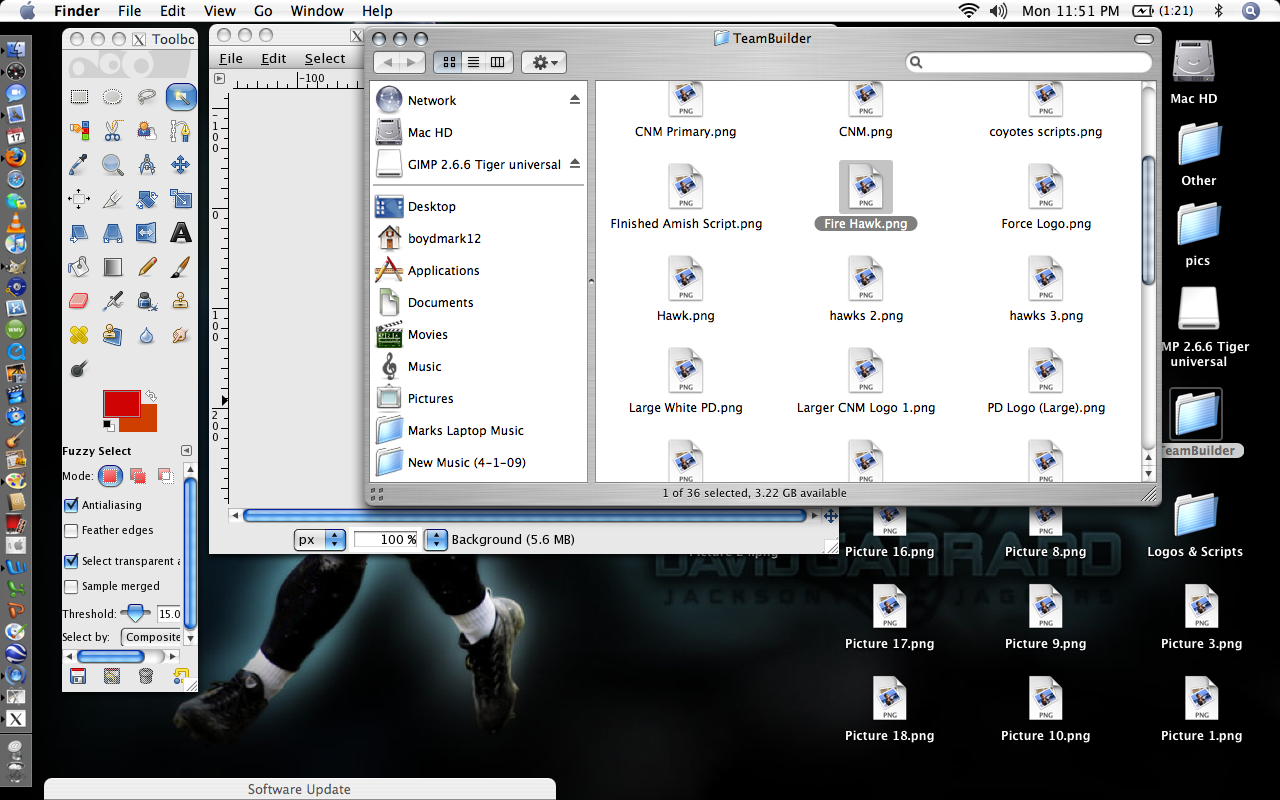 Open the image, and it will pop up in the preview program. Make sure it has a gray background.. this means it is transparent. If you drag the image and it has a white or black box around it you have done it wrong.  So there in the middle of the screen is the finsihed product. All you have to do now is upload the file on TeamBuilder.com once the site goes live. Well I hope that was enough info to get people started. There are a ton of other things you can do like dragging over other images and combining, flipping the pic, borders, layers, etc. I'll try to keep this thread updated with more tips as we move along leading up to when the site goes up. For more help visit Gimp Help. Good Luck! :waytogo: |
Re: GIMP Walkthrough w/Screenshots
thanks!
|
Re: GIMP Walkthrough w/Screenshots
Wow awesome!
Wow Mac. I thought everyone uses windows lol. |
Re: GIMP Walkthrough w/Screenshots
If you find a better way to clean up the colors around the edges, let us know. I haven't been able to fix it other than going pixel by pixel. That's pretty much the main reason why I gave up on trying to use GIMP.
|
Re: GIMP Walkthrough w/Screenshots
thanks fo coming through born, You rock
|
Re: GIMP Walkthrough w/Screenshots
when i press ctrl+x it doesn't remove the white, neither does going to edit cut
and I have selected the areas I want removed. |
Re: GIMP Walkthrough w/Screenshots
Quote:
|
Re: GIMP Walkthrough w/Screenshots
figured it all out. GIMP is great! thanks for the tutorial
|
| All times are GMT -4. The time now is 12:18 PM. |
Powered by vBulletin® Version 3.7.4
Copyright ©2000 - 2024, Jelsoft Enterprises Ltd.